


I admit: I would love to be one of those moms that lets her baby have “free-range” of the home. For me, there’s one problem…well, three problems. I am outnumbered 3-1. I have three toddlers and only one set of eyes. As a former athlete, I am well-trained in zone defense. But there just simply isn’t a way to keep them safe all day as they roam. When a baby gets hurt, the parent always says the same thing: “I turned my back for ONE second!”. Heaven forbid a mom or dad needs a second to eat, pee, or even just tend to one baby or the other. Now that my trio is almost 2 and much less of a fall-risk, I do let them roam for good chunks of the day, but I always love to have a space that I can contain them that is 100% safe (and FUN!). Even when they roam, I leave the Baby Jail gate open and they often go in there to play even though they have the entire house to explore.

Before I get into how to create your own Baby Jail, I will say that this is a topic that may get you mom-shamed here and there. I have. And it’s never from other Moms of Multiples. My response to the Sanctimommies: triplets. Done.
This area has been, hands down, the best thing I have ever done for my trio and for myself. They absolutely love romping around in there (and so do I!) and I absolutely love knowing that they have a space that is totally theirs. They can go nuts and do what they want…all while reamining safe. Win!
Instead of putting up multiple gates in front of of stairs, TVs, fireplaces, and any other dangerous area, why not consider a Baby Jail? Just an area of your house (the dinette in my case) that you can gate off and make a padded baby paradise! Some moms use separate bedrooms. Some just put a large gated square smack-dab in the center of their living room. Whatever works for you!
Step 1: Location, location, location!
Where will you be spending most of your time? Find a space in your house that you can see/hear them while also allowing you to throw a load of laundry in the washer or sterilize some bottles. Having a Baby Jail enables you to actually get stuff done without the worry of your posse getting into things they shouldn’t be while you weren’t watching their every move. For me, our dinette was perfect because it is right off of the kitchen, living room, and laundry room. It’s also on the main floor so I don’t have to go up and down stairs with babies and kitchen items all day. Find a spot and get started! 
Step 2: Build a wall… and make them pay for it.
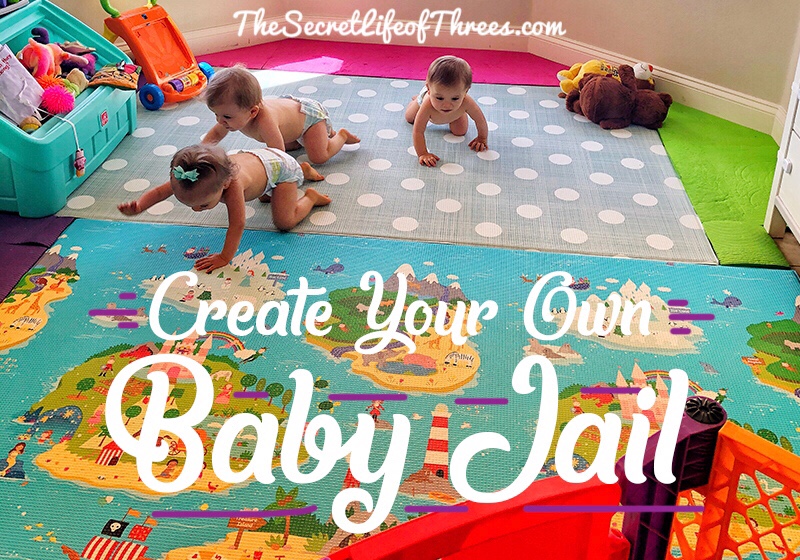
There are LOTS of gate options to try. Measure your opening and find something that will fit. Lots of MoMs use a bedroom or a room with a standard door. This makes your gate options easy. Other spaces, like mine, are more open and need a lot of gating. I use the Superyard Colorplay gate because theres lots of configuration options AND a locking door! To fasten the gate to the walls, I screwed eye-hooks into the stud and used zip-ties to secure the gate. (See pic)
Step 3: Padding
I chose to pad every square in of my Baby Jail because I just know that my babies’ heads would somehow find the one inch that I didn’t pad. I started with the puzzle-piece type mats because I liked the idea of cutting them to fit exactly. That was great for about a month until the babies learned how to pull those pieces apart. I also found that type of mat incredibly hard to clean. It seems every single drop of milk and every crumb ended up in between the pieces. Most MoMs rave about the Baby Care Play Mat but I avoided getting them because of the price tag. After a few rounds of different mats that never held up, I finally gave in. They are worth every penny…I now have three. They are so soft, easy to clean, durable, and double-sided so you can flip them over to change the look.
Step 4: Fill and Play!
Now that your baby jail is assembled, fill it with your babies’ favorite toys, get yourself a glass of vino, and enjoy!


Leave a Reply